Setting up a virtual network for learning is an effective way to dive deep into networking and IT concepts. Whether you’re a student aiming to get hands-on experience, an aspiring network engineer, or someone looking to understand cybersecurity better, creating your own virtual lab provides practical exposure. In this guide, I’ll show you everything you need to know about setting up a virtual network for learning, from choosing the right tools to configuring network devices and troubleshooting issues.
What Is a Virtual Network?
Understanding the Concept of a Virtual Network
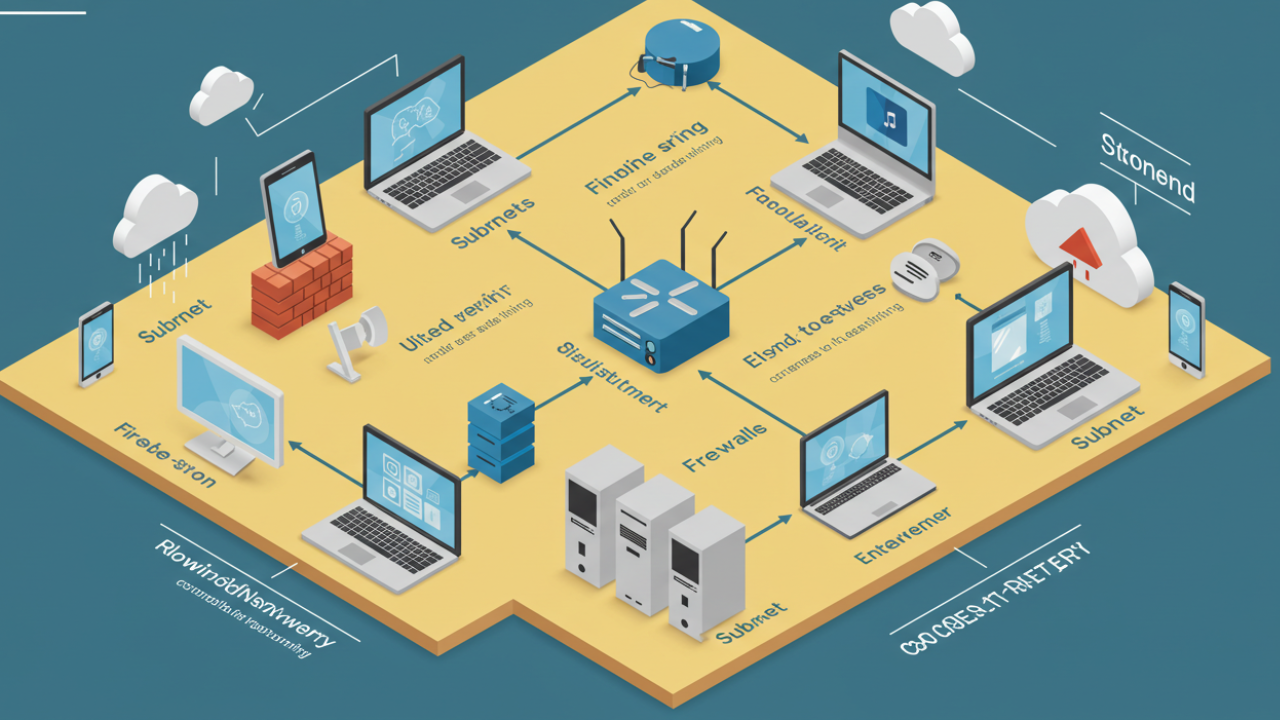
A virtual network simulates a real-world network environment using virtual machines (VMs), hypervisors, and software. It allows you to practice networking concepts such as IP configuration, routing, security, and firewalls, all without the need for physical hardware. Essentially, you create virtual environments on your computer that mimic real networks. The flexibility of virtual networks makes them perfect for learners who want to experiment with configurations and test solutions in a controlled environment.
Key Components of a Virtual Network
To set up a virtual network, you’ll need a few key components:
-
Virtual Machines (VMs): These are the “computers” in your virtual network. Each VM runs an operating system (like Windows or Linux) and behaves like a physical machine.
-
Hypervisors: These are the platforms that allow you to create and manage VMs. Popular hypervisors include VMware, VirtualBox, and Hyper-V.
-
Virtual Switches: These are used to connect VMs to one another and to external networks.
-
Routers: Emulated routers route traffic between different networks or subnets within your virtual network.
By combining these elements, you can build a fully functional virtual network capable of running multiple operating systems and simulating a real-world network.
Why Set Up a Virtual Network for Learning?
Learning networking concepts can be challenging, but virtual networks offer several advantages that make the process easier, more engaging, and affordable.
Practical Experience
Setting up a virtual network allows you to practice real-world networking tasks like configuring routers, managing firewalls, and simulating network security breaches. Rather than just reading about networking concepts, you can directly interact with and manipulate your network setup.
Cost-Effectiveness
Building a physical network setup requires significant investment in hardware, such as routers, switches, and cables. Virtual networks, on the other hand, allow you to simulate entire networks without the cost of buying physical equipment. This makes virtual networks an accessible option for students and hobbyists who want to learn without spending a lot of money.
Flexibility
In a virtual environment, you can easily change configurations, add new devices, or create complex network topologies without worrying about the limitations of physical equipment. You can quickly tear down and rebuild network setups, enabling you to experiment without any long-term consequences.
Safe Testing Environment
Virtual networks provide a safe environment to test configurations, make mistakes, and troubleshoot without impacting real-world systems. You can simulate network failures, misconfigurations, and cyberattacks, giving you the chance to practice responses to various scenarios.
Essential Tools for Setting Up a Virtual Network
To get started, you’ll need several tools to set up and manage your virtual network. Below are the most commonly used tools for building virtual environments.
Hypervisors
A hypervisor is software that allows you to create and manage virtual machines. These are the tools that will enable you to build the foundation of your virtual network.
-
VMware: A popular, feature-rich hypervisor suitable for beginners and advanced users alike. VMware allows you to run multiple virtual machines simultaneously and offers a range of networking features.
-
VirtualBox: A free and open-source hypervisor that works well for beginners. It’s compatible with Windows, macOS, and Linux.
-
Hyper-V: This hypervisor is integrated into Windows 10 Pro and Enterprise versions and provides excellent virtualization capabilities for users familiar with the Windows ecosystem.
Virtual Machine Software
Once you have your hypervisor set up, you’ll need to install the operating systems (OS) that will run on your virtual machines. Common options include:
-
Linux: Popular for learning networking, Linux distributions like Ubuntu or Kali Linux are widely used in network administration and cybersecurity.
-
Windows Server: Widely used in enterprise networks, learning how to configure and manage a Windows Server is valuable.
-
Other OS Options: Depending on your interests, you may also want to experiment with other operating systems like CentOS or even specialized OS like pfSense for firewalls.
Networking Tools
Several tools are necessary for managing and analyzing your virtual network. These tools will help you monitor network traffic, configure network devices, and troubleshoot issues.
-
Wireshark: A powerful network protocol analyzer that helps you capture and analyze network traffic.
-
Packet Tracer: A simulation tool designed for Cisco networking practice. It’s especially useful for beginners.
-
GNS3: A network simulator that allows you to emulate real Cisco devices (routers, switches) to create a full network setup.
Step-by-Step Guide: How to Set Up a Virtual Network for Learning
Setting up a virtual network might seem daunting, but it’s a straightforward process when broken down into steps. Here’s a simple guide to help you get started.
Step 1: Install a Hypervisor
First, choose and install a hypervisor on your computer. VMware and VirtualBox are excellent options for beginners.
-
Install VMware: Download and install VMware Workstation or VMware Player for personal use. It’s beginner-friendly, but also highly capable for more advanced setups.
-
Install VirtualBox: If you prefer an open-source solution, VirtualBox is free and works on most systems. Install it by downloading the setup from Oracle’s website and following the prompts.
Step 2: Create Virtual Machines
Now that you have a hypervisor, it’s time to create your virtual machines.
-
Windows or Linux VMs: Create VMs running different operating systems. For example, set up a Linux VM for network configuration and a Windows Server VM for practicing server management.
-
VM Configuration: Allocate memory (RAM), storage, and network interfaces. Generally, start with 2GB of RAM and 20GB of storage for each VM.
Step 3: Set Up Networking Between VMs
The key to a successful virtual network is connecting your VMs.
-
Internal Networking: Create an internal network where your VMs can communicate with each other, but not with the outside world.
-
Bridged Networking: For your VMs to access the internet, set up bridged networking. This makes each VM appear as a separate device on the physical network.
-
NAT (Network Address Translation): You can use NAT to allow your virtual network to access external resources while keeping it isolated.
Step 4: Install Network Devices
Next, you’ll need to add network devices like routers and switches to your virtual network.
-
Virtual Switches: Set up virtual switches in your hypervisor to link the VMs together. This simulates how real network switches function.
-
Routers and Routing Protocols: Use tools like GNS3 to simulate routers and configure basic routing protocols like OSPF or RIP.
Step 5: Configure Network Settings
You now have the foundation for your virtual network. The next step is to configure IP addressing, subnets, and DNS.
-
Assign IP Addresses: Use static IP addressing or set up DHCP (Dynamic Host Configuration Protocol) on your network to assign IP addresses dynamically.
-
Subnetting: Practice subnetting by dividing your network into subnets for better management and security.
Step 6: Test and Troubleshoot
Once your network is set up, it’s time to test and troubleshoot.
-
Ping Tests: Check network connectivity using ping commands between VMs.
-
DNS Troubleshooting: Verify that DNS is working by ensuring that your VMs can resolve domain names.
-
Firewall Configurations: Test your firewall rules to ensure only authorized traffic can enter and leave your network.
Advanced Configuration Tips for Learning Networks
Once you’ve mastered the basics, you can start building more complex network setups.
Simulating Corporate Network Environments
-
Multiple VLANs: Configure multiple virtual LANs to simulate segmented corporate networks.
-
VPN Setup: Set up a Virtual Private Network (VPN) to securely connect remote users to your virtual network.
Penetration Testing Environment
Setting up vulnerable machines and networks for ethical hacking practice can also be done in your virtual network.
-
Vulnerable Machines: Use pre-configured vulnerable machines, such as those from Metasploitable or OWASP Juice Shop, for practicing penetration testing techniques.
-
Security Tools: Integrate tools like Burp Suite or Nmap for scanning and exploiting vulnerabilities in your virtual environment.
Troubleshooting Common Virtual Network Issues
Even the most well-configured virtual networks encounter issues. Here’s how to troubleshoot the most common problems.
IP Address Conflicts
Ensure that each virtual machine gets a unique IP address. Check the DHCP server settings and manually assign IPs if necessary.
Slow Performance
If your virtual machines are running slowly, consider allocating more resources (RAM, CPU) or tweaking your hypervisor settings for better performance.
Network Isolation
If VMs cannot communicate with each other, check the virtual switch and network adapter settings to ensure proper connections.
My Opinion
Setting up a virtual network for learning is a rewarding and cost-effective way to master networking and IT concepts. By following the steps outlined in this guide, you can create a flexible, safe and practical environment to experiment, practice, and grow your skills. Whether you’re preparing for a certification, diving into cybersecurity, or simply exploring how networks work, your virtual lab will be the perfect place to start.
Ready to build your first lab? You’ve got all the tools and knowledge—now it’s time to get started.


Leave a Reply